Rock Veneer Installation Services Overview
Visitors can learn about local contractors who specialize in Rock Veneer installation services and how they can assist with property enhancement projects.
- - Residential homeowners seeking to enhance the appearance and durability of their homes with natural stone accents.
- - Commercial property managers looking to improve building facades or exterior walls with professional rock veneer installation.
- - Contractors and builders needing reliable local service providers to handle rock veneer work on new construction or renovation projects.
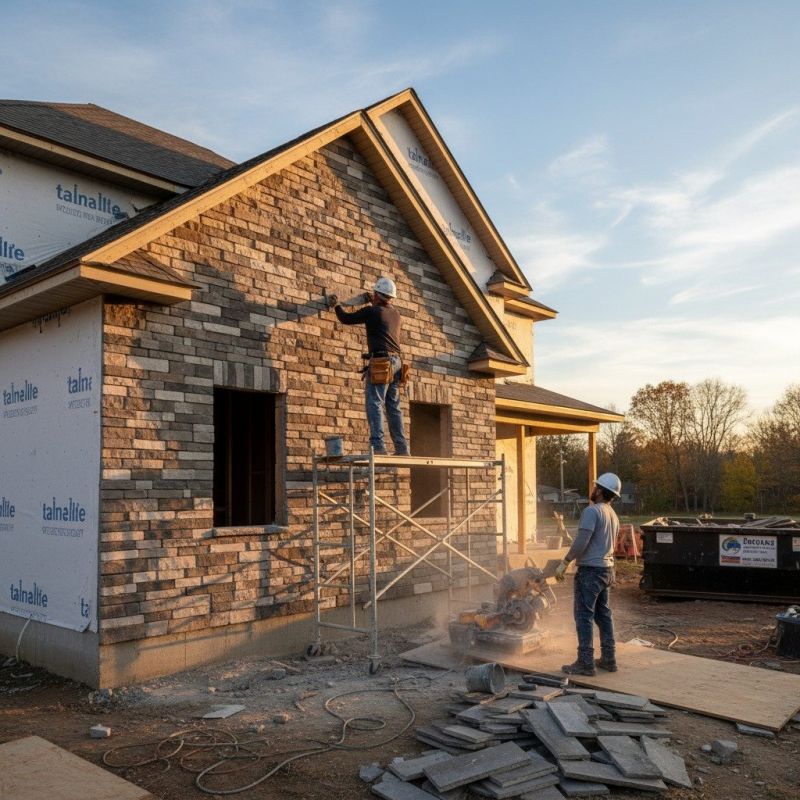
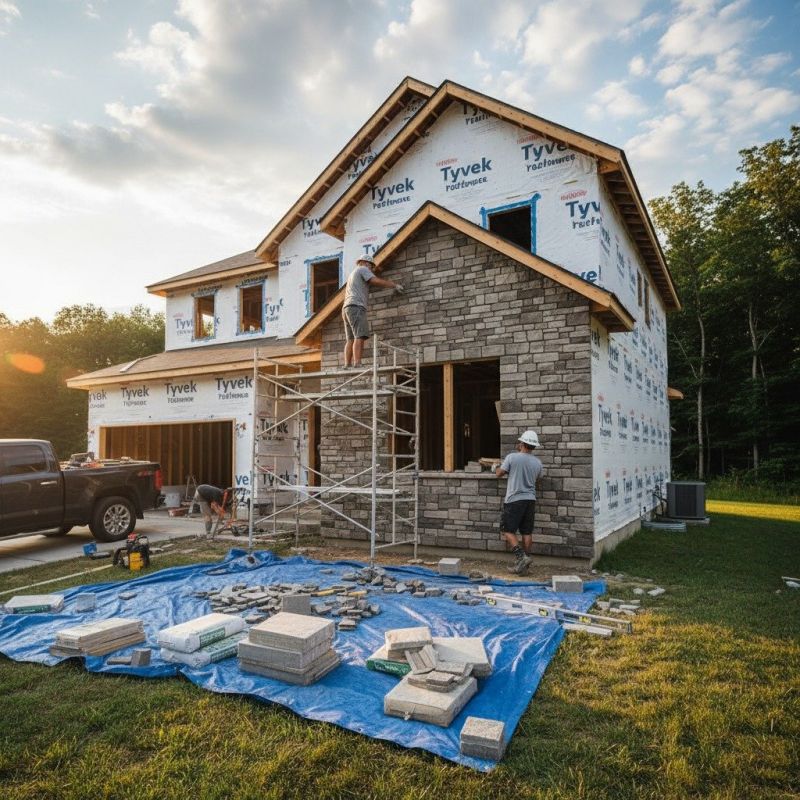

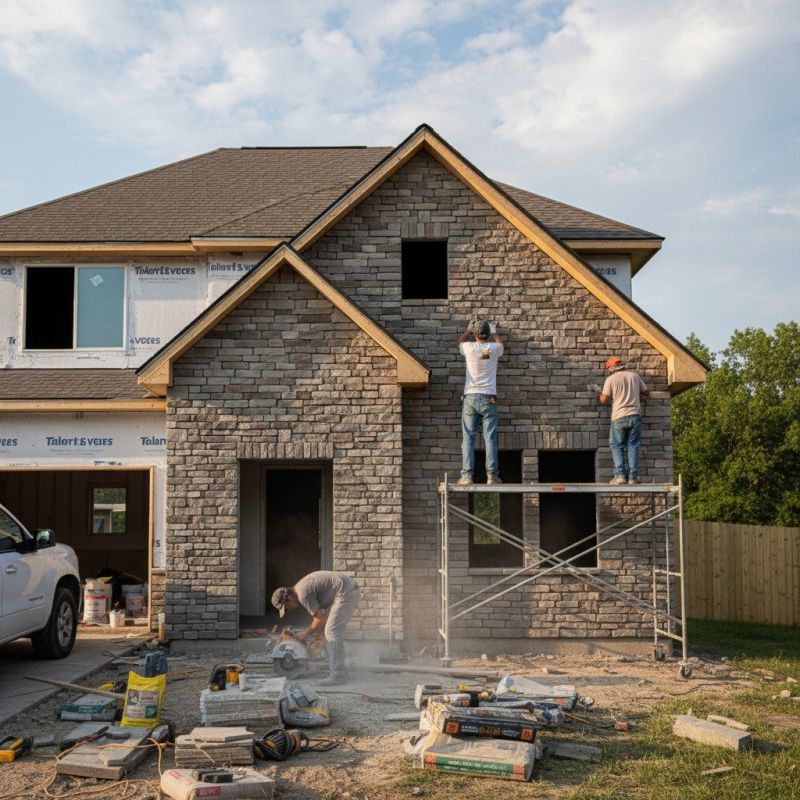
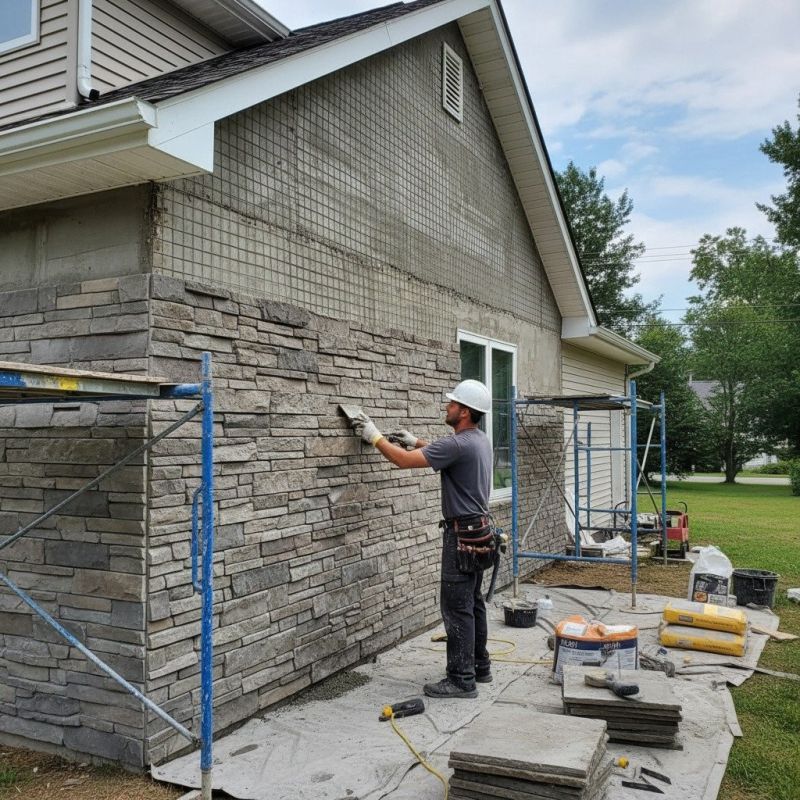
Rock veneer installation is a popular choice for enhancing the exterior appearance and durability of a property. Local contractors specializing in this service typically work with natural stone or manufactured veneer to create a textured, visually appealing facade. Property owners often seek out these professionals to handle projects such as accent walls, foundation cladding, or decorative facades, ensuring the work is performed with attention to detail and craftsmanship. These local service providers understand the specific requirements of veneer installation, including surface preparation, proper adhesion, and finishing techniques, to achieve a lasting, attractive result.
Connecting with experienced local pros can help property owners find the right expertise for their rock veneer projects. These contractors may offer a range of services, from consultation and material selection to installation and finishing touches. By comparing local options, property owners can select service providers who align with their project needs and preferences. Whether updating a single feature wall or undertaking a larger exterior renovation, working with local professionals ensures the work is handled by those familiar with the area's building conditions and standards.
This guide provides helpful information to understand the key aspects of Rock Veneer Installation projects. It assists in comparing local contractors and understanding what to consider when planning your installation. The goal is to help visitors gather essential details to connect with qualified service providers in their area.